Showing posts with label Aurilove. Show all posts

Monday, December 5, 2016

Winners and More Winter Bliss Details

Many thanks to all that participated in the first ever Redbird Quilt Co Buy 2 Get 1 Free Sale and Thank You for your continued support and encouragement.    
*
I'm excited to announce 3 winners (Blog, Instagram and Facebook) of the Really Mini Redbird and Berries Wool Quilt Kits
*
....Before I share the quilt kit winners I thought I'd share a few "process" pics and information about my recent "Winter Bliss" finish.   
My Version of Winter Bliss -- Original Design by Pat Sloan
Winter Bliss is a pattern by Pat Sloan and can be found in Pat's latest book
"Teach Me To Machine Quilt"
*
a comprehensive and wonderfully detailed book focused on making new quilters comfortable with the process of quilting through 3 layers of fabric.
*
You can read my
Book Tour Review in this post.
and 40 other Book Tour posts using this index page.
*
Winter Bliss finishes appx 25" x 28" and is a wonderful addition to any winter decor.
Created with Blackbird Designs Autumn Lily cotton fabric (for Moda) on the borders and
Primitive Gatherings Muslin Flannel for the background.

I used wool from my stash including Primitive Gatherings wool and a variety of others I've collected over the years.
*
I followed Pat's pattern to prepare the quilt top after hand stitching the snowman to the background fabric.
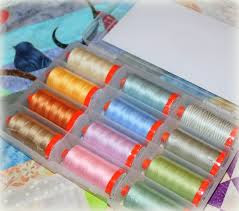
Also following the pattern, I cut all of the applique pieces from wool and hand stitched them to the quilt background using my favorite Aurifil 12Wt thread
On the snowman and the holly leaves I used a blanket stitch.
*
On the berries, birds, poinsettia leaves and stems I used an overhand or whip stitch.
This stitch moves along much faster than a blanket stitch and still looks beautiful.
I added a few fancy stitches to top off the poinsettia center -- that was fun!
Once the applique was stitched down I layered the quilt top with Quilters Dream - Dream Orient batting and pin basted.
*
Again following Pat's amazingly detailed and thorough book, I put a new needed in my Janome 7700 and got busy quilting.
You can see my quilting setup in this post.
*
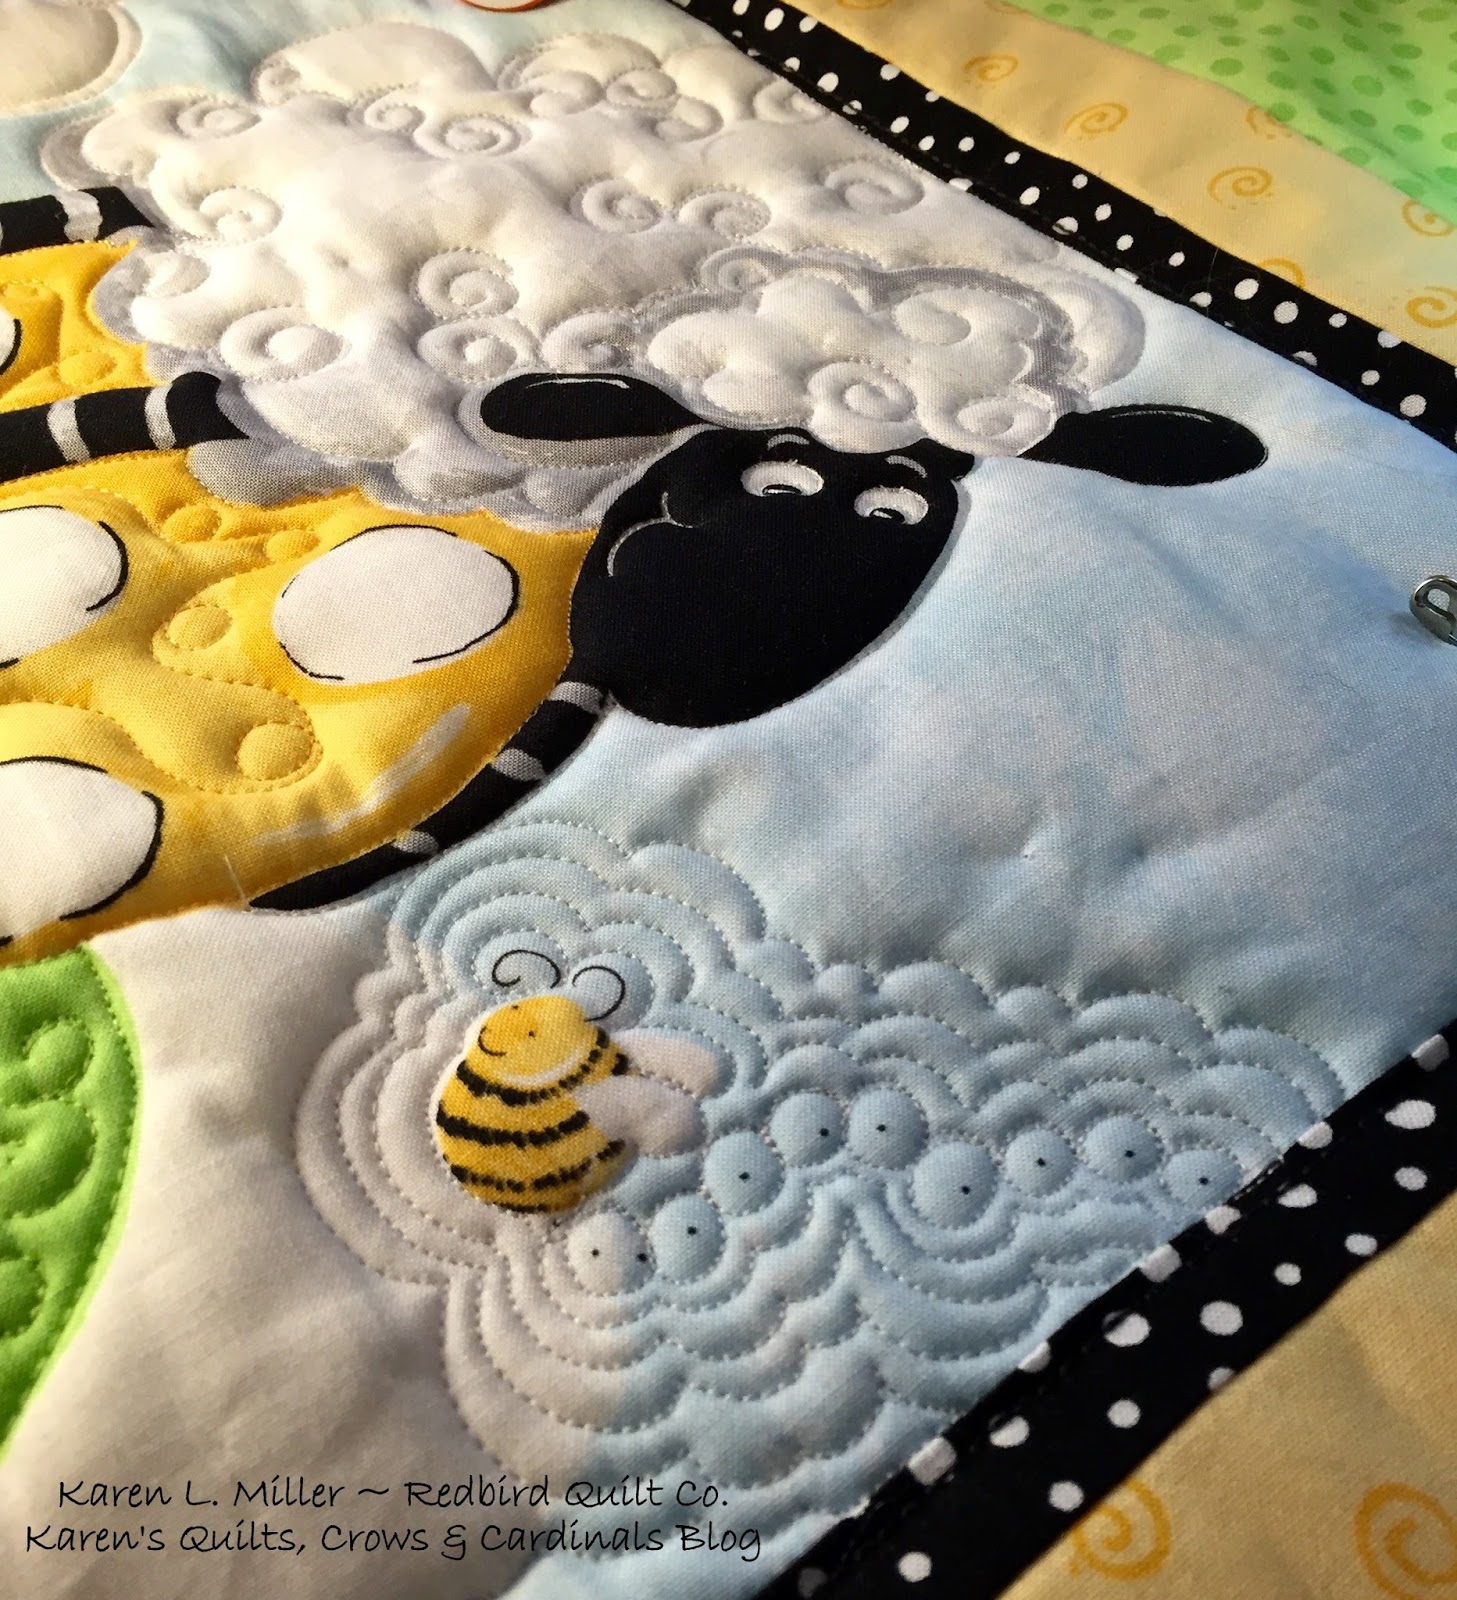
I stitched around the wool applique with my trusty FMQ Echo Foot and using Aurifil 40Wt thread in the top and 50 wt in the bobbin.
This foot is so handy when stitching around wool.  
Because the foot is slightly curved it gently rides up over the edge of the wool applique, allowing you to stitch just outside of the edge. 
An open toed foot would catch on the stitches and other rounded feet would keep you from getting close to the applique.
*
This foot is perfect.
*
Once I outlined all the applique (per Pat's suggestion in Teach Me To Machine Quilt) I decided to top stitch border 1 using Aurifil 12 Wt thread and a walking foot. 
*
I always love how that looks:
Now back to quilting... time to get the background and the snowman quilted:
 I used Aurifil 40Wt thread for most of the quilting.  It gives such beautiful texture.
Around the outside border I quilted a simple teardrop / paisley with loops.
The fabric is too busy to see much of the quilting.
When you're quilting busy fabrics though, take the opportunity to be creative with your practice as mistakes will go unseen ;)
*
When I got to the corner blocks I tried out Free Motion Straight Line quilting per Pat's Book.
Simple, fun, effective...
*
Done quilting, I squared up the quilt top, cut a 2" binding on the bias and attached it to the quilt top with my favorite mitered finish tutorial by Lisa Bongean for the Fat Quarter Shop.
Thank you Lisa and Kimberly.
You can see my mitered, flanged, machine binding variation of this tutorial here.
*
Quilt Top Complete...
Sew much fun!
I hope you enjoyed learning a little more about the Winter Bliss prep and quilting.  It's a fun project that can be displayed for months during the winter.  I would love to see any project you create from Pat's new book -- Teach Me to Machine Quilt.
*
And now for the winners of the
Really Mini Redbird and Berries Wool Kits
complete with Background Grunge Fabric, Wool Pieces, Aurifil 12Wt thread and Layout Diagram
*
On Facebook the Winner is:

On Instagram the Winner is:


And on the Blog the Winner is:
 Congratulations everyone -- if you've not already sent me your addresses please do --- I can't wait to get your kits in the mail.

Many thanks again to all that participated in the Sale and Giveaway.

Happy Quilting!!

I'm booking Redbird Quilt Co. Lectures, Trunk Shows and Workshops for 2017 & 2018
If your Shop, Group or Guild is looking for programs or workshops I would love to hear from you.
Domestic Machine Quilting,  Wool & Needle turn Applique - Technique or Project oriented workshops are available.

Send email inquiries to karen at redbirdquiltco dot com
or redbirdquiltco at gmail dot com
*

Have a blessed week all and many thanks for your continued support!
YOU Make my World a Happy Place!
*
Follow me on social media:
Redbird Quilt Co. on FacebookInstagramPinterestTwitterYouTube
Facebook my FMQ Frenzy Community Group


Note:  The FTC requires that I tell you.... I occasionally use affiliate links on my blog and website.  I may be compensated for purchases made using the links.  Rest assured I will only share sales and promotions for products I know and love myself.  Many thanks for your support of my very small business.

Saturday, April 30, 2016

2016 Free Motion Quit Along - Part IX Finishing Steps

Greetings Fellow Quilters!
&
Welcome to Part IX of the
2016 Redbird Quilt Co.
Free Motion Quilt Along
using the whimsical 
Lewe's Balloons Growth Chart
by Susy Bleasby

Many thanks for your patience the last 2 weeks while I traveled from Eastern NY to Western NY sharing my love of quilting with Guilds and Shops along the way!
I'm pretty blessed to travel around sharing what I love with others -- sometimes I have to pinch myself to make sure I'm not dreaming.

In the final installment of our 2016 FMQ Along we're talking finishing steps for the World of Susybee
Lewe's Balloons Growth Chart Panel.


But FIRST !!

If and when you're done quilting the final border on Lewe's Balloons I REALLY want you to follow these instructions!!
  1. Take a step back
  2. Admire your work
  3. Really -- admire your work!   You Did It!!
  4. Now go to a mirror and give yourself a "high five" for walking through this beginner Free Motion Quilt Along and making it to the very end --- WOOHOO!!

If you've quilted along from the 1st to the last session you deserve a BIG pat on the back!   Great job! 

If you're just joining us be sure to checkout the previously published
Free Motion Quilt Along Posts:

Introduction => here
Sponsors =>  here
Supplies =>  here
Part I Pieced Borders =>  here
Part II Pin Basting ==>  here
How to Quilt That =>  here
Part III Tools, Setup + Practice => here
Part IV Let's FMQ => here
Part V More FMQ => here
Part VI Echo, Pebbles, Loops & Swirls Oh My! => here
Part VII Landscape & Background => here
Part VIII Borders ==> here

Also, do checkout our fabulous Sponsors and their generous Giveaways....
You can read all about that  ==> here

****

Finally -- lets talk finishing steps...
They include:

1. Squaring-Up the quilt top
2. Preparing a Hanging Sleeve
3. Prepare and attach the Quilt Binding
4. Prepare and attach a Quilt Label


In lieu of writing tutorials for each of the above steps I've decided to describe and/or refer you to some of my favorite tutorials that cover the finishing steps...

1. Squaring up the Quilt top -- the objectives of "squaring up" include:
  • determining the length and width that the quilt top can be trimmed such that you'll have the same width across the top, middle, and bottom of sections of the quilt and the same length to the left and right of center   
  • determining the length and width of the quilt that will allow roughly the same amount of final border showing around the perimeter of the quilt   
  • ensuring that your corners are cut at a 90 degree angle 
In my Lewe's Balloons Sample Growth Chart I was able to "square-up" to 51" tall by 27.75" wide and with appx 3.75" of the Green Dot border showing all the way around.
Use a large square ruler, a LONG ruler, and a good rotary cutter to "square-up" your quilt.   You may have to "fudge" the squaring along the way -- you'll want to be sure that your corners are at a 90 degree angle.   "Fudging" means you may have some corners or lengths that only have batting showing (and not top or back) -- but that is OK as long as the binding will cover that area.  The main thing is that your quilt is "square", that the corners are at a 90 degree angle and that the width and length measurements don't vary from top to bottom or side to side.
I normally start on a corner of the quilt -- and double check measurements and ruler placement to ensure that I'll end up with a 90 degree angle in each corner.    If you need detailed instruction for "squaring-up" a quilt top there are several different YouTube and written tutorials available online.  I also talk about it briefly in my Family Tree Quilted Envelope Pillow tutorial on the Moda Bake Shop.   You're also welcome to reach out to me via email for help -- I would be happy to help if I can.  My email address is available at the bottom of the post.

2. Preparing a Hanging Sleeve....  

NOTE:  The sleeve instructions below are not quilt show approved....  Preparation of an AQS Approved Quilt Sleeve can be found here.

Image shows the beginning of the sleeve process.  I cut a 8" tall by WOF piece to begin.
For quilts used at home or gifted... my standard way of preparing a quilt sleeve is:
  • Cut the sleeve fabric 8" tall by the width of the squared quilt minus 1 inch
  • Fold the short ends of the sleeve fabric over twice at .5" (each fold) and machine top stitch to make finished short edges
  • Fold the sleeve in half length (long) wise with wrong sides together.
  • Center and position the raw edges of the folded sleeve at the top of the quilt sandwich on the back and pin or baste in place -- be sure it is centered left to right.
  • The sleeve will be sewn to the quilt back when the binding is applied
  • Once the binding is complete, hand sew the bottom and sides of the sleeve to the quilt back -- leaving the outer layer of the short edge open for the rod.
For our Lewe's Balloons Growth Chart I suggest you start with a raw edge sleeve 8" tall by 27" wide -- once it's sewn into the binding it will finish to be 3.75" tall by 25" wide.  

3. Preparing and attaching a quilt binding...  

Oh there are so many ways to make and attach a quilt binding.   The most common method is detailed in this Moda Bake Shop Binding tutorial.

PLEASE NOTE:   We planned for binding strips 2.25" wide and sewn on with a 1/4" seam allowance.   The referenced Moda Bake Shop tutorial assumes the strips are 2.5" wide and sewn with a 3/8" seam allowance.   You can follow the Moda Bake Shop tutorial step by step -- except you'll cut your strips 2.25" wide and use a 1/4" seam allowance.   (If you have enough fabric to cut your strips 2.5" wide, you can follow the Moda Bake Shop tutorial exactly as written).

For our Lewe's Balloons Growth Chart Binding:
  • I cut (5) 2.25" strips by Width of Fabric
  • I sewed the 5 strips together (end to end) with a mitered connection - this reduces bulk when you're attaching your strips to the quilt top.  (See Moda Bake Shop tutorial above). 
  • Once your strips are sewn together end to end and the seams are pressed open, fold the binding in half lengthwise (wrong sides together) and press
  • Now align and pin the raw edge of the binding on the raw edge of your squared quilt on the front side of the quilt (machine stitch to the front and hand stitch on the back). 
  • See detailed instructions for the remaining steps in the Moda Bake Shop recipe.

Label -- it's really important to label you're work.  I normally include these items on my quilt label:

  • Name of Quilt
  • Name & Location of Person who made the Quilt
  • Name of Person who quilted the quilt (if different than the maker)
  • Date the Quilt was completed or gifted
  • Name of Person the Quilt was gifted to
I've tried many times to make a hand-written label and I never seem to be satisfied with them.  For quilts that won't require extensive washing and drying I use the computer to prepare and print the label on fabric.   I've written a tutorial for preparing a label with your computer, you can see it ==> here ==> Printed Quilt Label Tutorial -- sew fun!

Ok then -- once you've completed these steps you've made it to the end game.

In the next few days I'll be posting a recap of our Redbird Quilt Co 2016 FMQ Along AND having a Linky Party so you can submit entries for the Giveaway.   If you don't have a blog, Instagram or Facebook account you can submit your entries to me directly (email below) and I will post them for you so you are eligible for the giveaway drawings.
Great job everyone!! 

Take care now and Keep on Quilting!
Karen

****

More Info:

I'm booking Redbird Quilt Co. Lectures, Trunk Shows and Workshops for 2017.
If your Shop, Group or Guild is looking for programs or workshops I would love to hear from you.
Domestic Machine Quilting,  Wool & Needle turn Applique - Technique or Project oriented workshops are available.

Send email inquiries to karen at redbirdquiltco dot com
or redbirdquiltco at gmail dot com
*
Social Media:
*** Follow Me ***
Did you know you can visit me on
and/or
I post all sorts of fun things there!!
**
If you love to Free Motion Quilt consider joining my 
Facebook Community Group
*
Plus
I share quilting related
videos on my YouTube Channel
*
I'll soon be sharing live feed TV on my Periscope
*
I'm also on Pinterest and Twitter 
and I share other tutorials and patterns on
My Tutorials on my blog
*
I have a few patterns available in my Craftsy Store
Thanks again for stopping by...

Monday, March 14, 2016

2016 Free Motion Quilt Along - Part VI Echo, Pebbles, Loops, Swirls Oh My!

Greetings Fellow Quilters!
&
Welcome to Part VI of the
2016 Redbird Quilt Co.
Free Motion Quilt Along
using the whimsical 
Lewe's Balloons Growth Chart
by Susy Bleasby
for World of Susybee

If you're just joining us be sure to checkout the previously published
Free Motion Quilt Along Posts:

Introduction => here
Sponsors =>  here
Supplies =>  here
Part I Pieced Borders =>  here
Part II Pin Basting ==>  here
How to Quilt That =>  here
Part III Tools, Setup + Practice => here
Part IV Let's FMQ => here
Part V More FMQ => here

It's getting exciting... !!
We're inching up on completing the projects and submitting pictures that will make you eligible for some awesome products giveaways!

Thanks so much Aurifil for sharing your fantastic thread from one of my favorite designers! 
Images courtesy: www.wendysheppard.net

Also thanks goes out to the sweet team at Creekside Fabrics, Quilts and Yarns in Arcade, NY.


Thank you Sandy for:
Next up -- many thanks to the great folks at Quilter's Dream Batting


my favorite batting/waddling are providing two packages of batting:


Let's not forget a special thank you to 

for a Lewe Play Mat Quilt Kit!

And how about a warm thank you to the great ladies at Quilty Pleasures in Geneva, NY

Thanks Val and Roni for providing store credit!

Last, but certainly not least...  The World of Susybee is joining in the sponsorship fun!

Meet Lal the Lamb -- isn't she adorable?
Lal is a 36" panel that can be used as a floor play mat, turned into a pillow or just quilted and hung in the nursery.   
Oh I can't wait to quilt Lal!

Thank you Susy and World of Susybee!

See the original
Sponsor and Giveaway post  => here

OK -- Now lets move on to our lesson for this week.

We're quilting 3 more balloons using motifs that we've already learned.
Echo, Pebbles, Loops & Swirls - Oh My!

This week there is only 1 video lesson -- sort of a Recap of the motifs we've already learned.  You can watch the video by clicking the image below.

Note:  Be sure that you've watched the other videos before jumping into this one.
You can see the complete 2016 QAL Video Playlist at this link.

Here are a "few" still images from this weeks quilting:

Before the Star Balloon was quilted...
Before the Pebble Balloon was quilted...
Before the Ewe and the Polka Dot Balloon were quilted...
I started with quilting FMQ stars INSIDE 
the marked star -- Aurifil 50Wt thread
color #2024 White - Top and Bobbin

I utilized the "Jump" method to move from one star to the next.
We learned that method in an earlier lesson.
Once the 3 stars were quilted I was
positioned next to the Pebble Balloon... 
That's convenient!
*
Quilt around the perimeter of the balloon
before moving inside.
OK - now lets quilt some pebbles...  
We learned pebbles in this video
*
Just repeat what you already learned but vary the sizes of the pebbles
to give texture and dimension
*
When using Aurifil 50Wt thread you can backtrack or "sneak around"
 on a previously stitched line
without worrying about thread buildup.
Ahhh - isn't it a pretty sight!!
Lock off your stitches when you're done with the pebbles and
lets switch top and bobbin colors to
one of Aurifil #2140 Mustard
or Aurifil #4150 Creme Brule' Variegated
Stitch the perimeter of the Polka Dot balloon before jumping inside.
Now eyeball yourself a continuous
stitching path and quilt some pretty
loops inside the balloon all around those dots.
The video explains this much better! 
I used the Creme Brule Variegated thread -- you can see how the color changes through the balloon -- so pretty!!
Yay!! Our Balloons are Quilted!!  
Sew Fun!
 Moving on to the little Ewe
at the top of the panel....
I switched thread again-- 
back to Aurifil #2600 Dove
50Wt thread in the top and the bobbin
 It was sew fun to quilt the little wooly curls on this Ewe.
I stitched the perimeter, backtracked bunches and worked my way inside to quilt all those beautiful curls...
Again Aurifil 50Wt thread to the rescue, allowing us to backtrack
without buildup -- I love that !
Oh my goodness... don't you just love the texture?
More yummy texture!
We're making great progress...

How is your Growth Chart coming along?
*
Feel free to send me an email with a picture or share a picture on Facebook, Instagram or Twitter -- just use the #2016redbirdquiltcofmqal hashtag and I'll find YOU!

Questions, concerns ? 
Please share them with me.

Next lesson we'll be quilting the landscape at the bottom of the panel and doing a little quilting on the background fabric.

After that, the borders and we're done with our FMQ!

Woohoo!!

Stay tuned this week for another FMQ Project share that will have its own Giveaway!
We can't let National Quilting Day (March 19th) get by without it!

Be sure to follow me on Social Media so you don't miss out on upcoming shares, sales and celebrations... 
*
*
You can see my available patterns on Craftsy
and see a wealth of tutorials on My Tutorials
*
Also - be sure to join the Free Motion Quilting Frenzy group on Facebook 
amazing inspiration and technique is shared there! 
***
Happy Pi Day!
To celebrate take 50% off all "Pi" related Craftsy Classes.
Pies, Cupcakes, Gluten Free Baking & more...


Cheers!
Karen