
.JPG)
Onto the Mr. Redbird tutorial -- now remember, this was my first attempt at Needle Felting -- so the disclaimer: "there
.JPG)
I purchased some red, white, black and yellow wool roving, a felting needle, and felting pad at a local Fiber Fest held by the Genesee Valley Handspinners Guild (talk about skilled artisans - the vendors and the guild members were amazing). You should be able to find these supplies at your local wool shop, Hobby Lobby or some Joann Fabric stores.
.JPG)
* Use caution *
*The felting needle is very sharp *
It will puncture your finger if it gets in the way !!
.JPG)
I wanted my Redbird larger than the one shown in the YouTube video, with more realistic looking wings and tail. I used the YouTube tutorial as a basis and added some helper materials to assist me in keeping the correct shapes while needle felting. I cut wing and tail templates from Moda Red Wool by tracing shapes onto the dull side of freezer paper, ironing the freezer paper to the wool, and cutting along the traced edge.
.JPG)
If you don't have any red wool - you can opt out of the templates or use craft felt that you can pickup at Joann Fabric or any other craft store. One drawback to using Craft Acrylic Felt is that the wool roving might not adhere very well.
Start by making the bird body -- using the technique in the the YouTube video.

Detach a good length (12-15 inches) of your white wool roving and, using your
fingertips, begin to roll the wool, tucking in the sides in as you roll

Roll two or three times and then begin to felt with your needle,
tucking as you go and making the roll more and more dense as you
felt with you needle while you roll - this is where the YouTube video comes in real handy!!

Think about shaping your Redbird as you go - making the tail end more
narrow and the head end more thick. You can make the tail end smaller by using less wool roving there - AND by punching or felting it more. The more you punch, the more dense it becomes.
.JPG)
If you run out of wool and you don't think your bird is large enough -- just grab another section, lay it down and start felting it into the body.
.JPG)
When you are done with your body, grab another small section of roving and begin to make a head, rolling and tucking and felting as you go. The more you felt, the more dense your wool will get.
.JPG)
Once you've finished your head you'll attach it to the body by felting it there.


Poke the head to the body until you feel it is secure. Don't worry too much about the security as you'll do more needle felting when you attach the red wool.
NOTE: Above is where I kinda goofed - I should have attached the head further back on the body - I put it too far forward and had to add more bulk to the birds breast to even things out. See below - he has a sunken chest. Boo !

So now what ? Yep ! Felt some more roving for his little chest (on the side)

And attach it to his body - punch it on...

Ok - now on to the tail. I took my wool tail template, pulled some red roving, and began felting the red roving to the tail template. In hindsight and/or for my next attempt, I will use the template as a guide, but not felt it. I will make the tail from roving only.
.JPG)
So, continue to felt roving to the tail template on one side... and then flip it over and do the other side of the tail.

Note: Leave an extension of your roving at the narrow end of your tail on both sides - kinda like a tail on the tail you ask ? Yes! Exactly! You need something to be able to attach the tail to the body of the bird.

Now you want to attach the tail to your bird body. Do this by placing the loose tail roving over and under the narrow end of your bird body - the roving should extend well onto the body of the bird for a secure tail.
.JPG)
Oh -- did you notice ? I added a little crest to the cardinal body when you weren't looking ! Sorry - no pictures, but same procedure as adding the head and the extra large chest piece (and no template - I just winged it ;)
Now, the rest of the process is easy as pie! Keep gathering small bunches of wool and felting them to the bird body, head and crest until he is completely covered in red roving.
.JPG)
Now onto the wings -- we're nearly done.... Makes your wings (two) just as you did your tail (except you don't need a tail of roving on your wings {wink} ) . Start with your wing wool template -- or a picture guide if you decided against the template wool.


Now - you need to attach your wings to your bird. This is a little tricky but you'll use the same procedure as attaching the head or the tail.
.JPG)
.JPG)
After you attach both wings -- check him out to see if they are evenly placed side to side and front to back.

We're almost done -- how about a black mask and a beak ?
Oops -- I completely forgot to take a picture of putting the black roving on his face (sorry :( Check out these pictures online for placement ideas and then felt the black wool roving in place over top of the red wool. (The Internet is our friend).
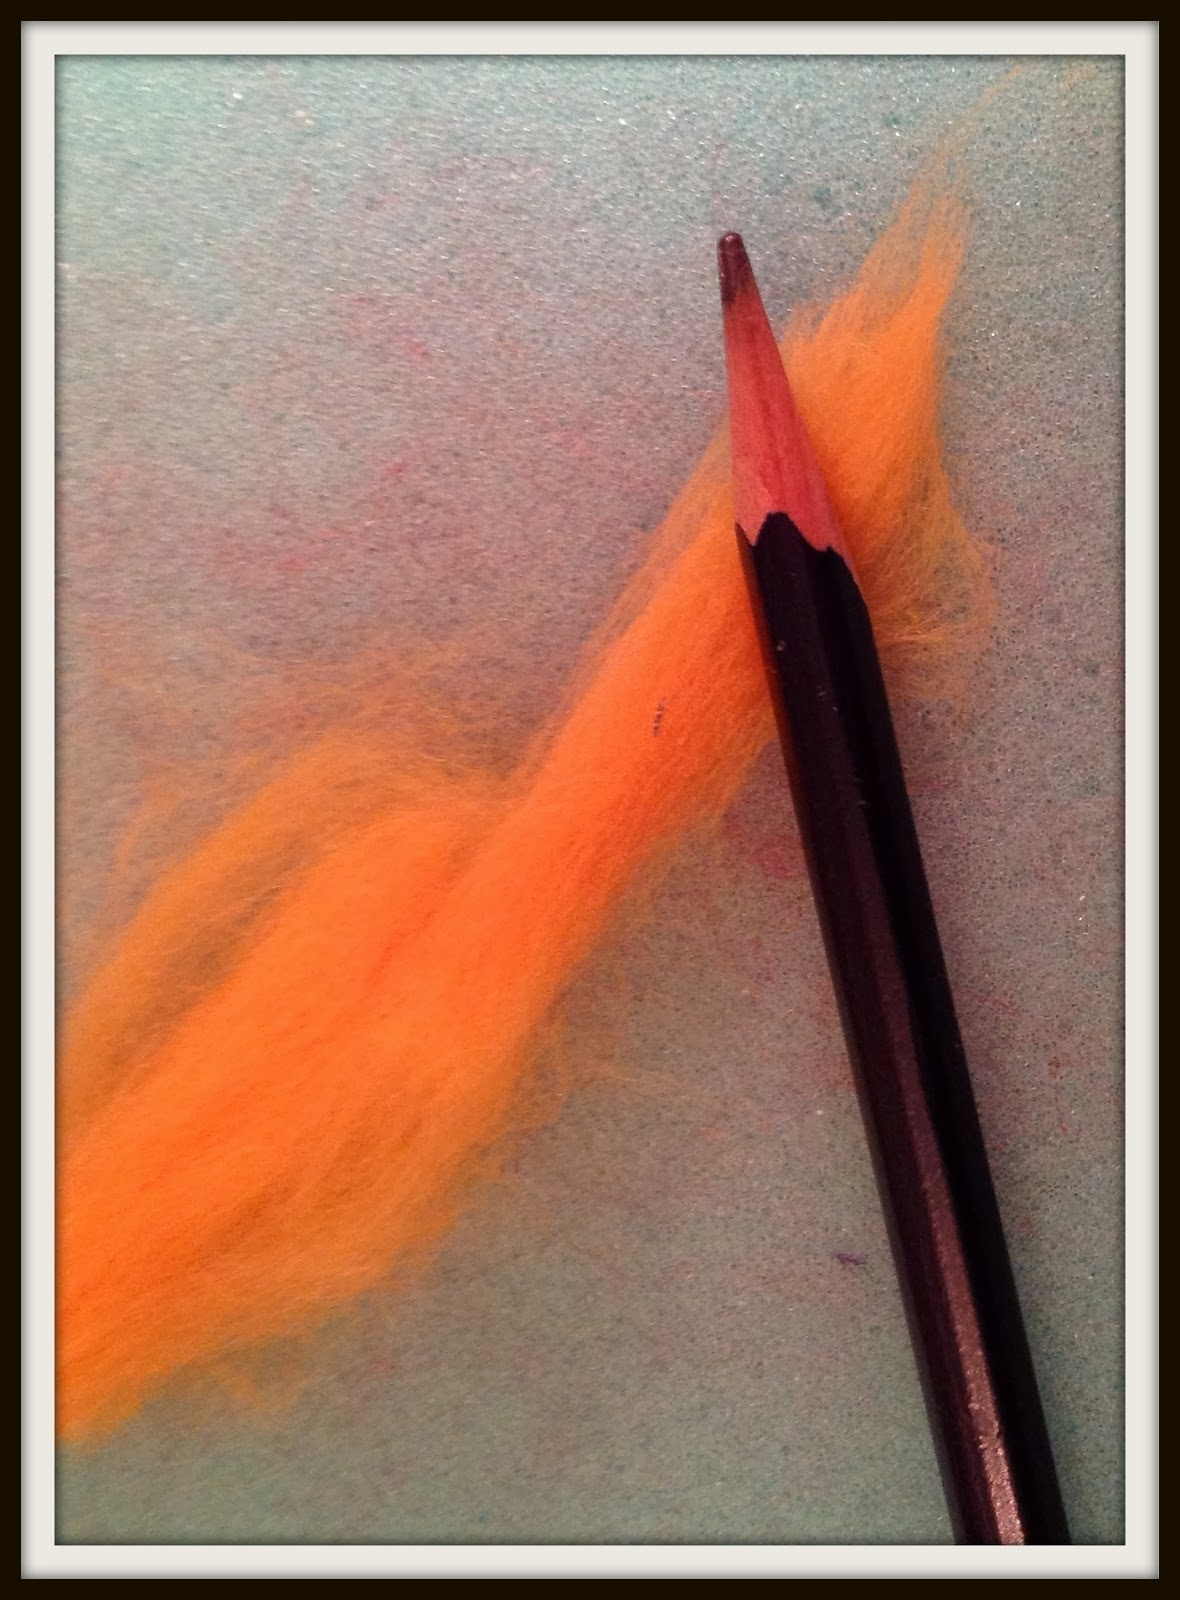
Now that his black mask is in place start the beak by using the tip of a pencil and wrapping the yellow roving around the tip.


.JPG)
.JPG)
However, I've decided I have a bit more flexibility with him NOT mounted.
I think I will give him a couple of wire feet this week though -- then he can rest easily in any decor!
Please let me know how you do with the creation of your Redbird - and leave any comments or questions below and I'll get back to you as soon as possible!
.JPG)
Hugs,
Karen
Very cool! I haven't tried felting, but love what folks make with it. The cardinal is one of my favorite birds ever! :)
ReplyDeleteThank you Susan. The cardinal is my very favorite and I am fortunate to live in the Northeastern USA where I can enjoy them year round. I've captured more than 10 at a time in my camera lens in the winter. So awesome. Thanks for stopping by.
DeleteThanks for the very thorough tutorial!
ReplyDeleteThanks for stopping by Elizabeth - would love for you to share anything you make with it. Take good care.
DeleteOh wow! I love him!
ReplyDeleteThanks Michelle - he was so much fun! You suppose I should try a rabbit next ? {wink}. Love your blog!
DeleteI love this tutorial! Thankyou so much! XXX
ReplyDelete