Today I'm excited to share a Mitered & Flanged Machine Binding Tutorial.
***
It's fun, saves time and looks awesome!!
***
Don't be overwhelmed by the number of steps -- after you do it once or twice it will become old hat... I know you'll love it.
***
It works nicely for samples, baby blankets, and quilts that will be washed and worn!!
(or if you're in a plain old hurry ;)
It's the whopper of machine binding tutorials because I decided to include steps for a Mitered Finish as inspired by a YouTube video by Lisa Bongean (
Primitive Gatherings) with Kimberly at
The Fat Quarter Shop.
**
I followed Lisa's steps to prepare the mitered finish -- AND included a link to their (most helpful)
video in this tutorial. After
watching the video be sure to leave a comment or give it a "thumbs up" -- it's an awesome learning tool!
** Note, the YouTube video
does not include instructions for the Flange OR the Machine Finish - it explains nicely though, how to prepare mitered corners and a mitered finish -- it's a great tool and video and helped me tremendously with the mitered finish. Thanks so much ladies !!
OK - Let's get started:
We're going to make this sweet little flanged binding by machine with mitered corners, a mitered finish and with beautiful top-stitching to show off your pretty Aurifil threads!
Begin by choosing a primary and an accent (flange) fabric.
*
Add in a complementary 50Wt thread for piecing and a 12Wt thread for top stitching.
I chose from my #AuriStash -- #Aurifil thread is always my first choice {love}.
Determine Length of Binding Needed:
Calculate the total length of binding needed by adding the length of each of the 4 sides and adding an extra 10" to the number.
*
The sampler was 18" square. 18 + 18 + 18 + 18 + 10. = 82 inches.
I assumed I could squeeze 41 usable inches per WOF strip, so I cut 2 strips of each the primary and the accent fabric.
Cut the Primary and Accent fabric strips:
Cut the primary fabric 1&7/16" wide.
I did not have 16 of an inch marks on my ruler, so I split the width between 3/8 and 1/2 to achieve 7/16th of an inch.
Now cut the accent fabric 1&3/4" wide (by the number of strips you need).
Showing: Strips after cutting the correct number of Primary and Accent
NOTE: When using solid colors, I sometimes place a pin in the right side of the fabric so I can tell the right side from the wrong side of the fabric.
Piece Binding Strips to Achieve Necessary Length:
Now you want to prepare the total length of binding. The sample required 82" so I pieced two WOF strips together at an angle (mitered seams).
Be sure that your diagonal line is marked correctly before sewing and cutting.
After testing the positioning of the fabric and diagonal line, stitch along the marked line with a straight stitch. (Excuse my wonky straight line - it was Free Motion Stitched ;).
After stitching, remove the pins and check to ensure you have a continuous length before trimming.
Now fold right sides together and trim the seam allowance to 1/4", trimming the tabs too and pressing open to reduce bulk.
Repeat the above steps for the primary fabric.
Now you've prepared the correct (total) length of each the primary and accent fabrics.
Sew Primary and Accent Fabrics Together Lengthwise & Press:
Next you'll layer the primary and accent strips right sides together, aligning one raw edge.
Sew along the edge with a 1/4" seam allowance
Showing the sewn raw edge
Position binding on an ironing surface with the Primary fabric on top.
Press flat to set the seam
Next open the fabric and press the seam toward the Primary fabric.
Showing after binding is pressed open toward the Primary fabric
Showing back after pressing toward the Primary Fabric
Next you'll fold the wrong sides together, aligning the raw edges and gently press the length of binding.
I press gently so the fold
IS NOT Crisp or Flattened.
***
Attach prepared binding to Quilt Back:
This section of the tutorial was inspired by a YouTube tutorial prepared by Lisa Bongean (
Primitive Gatherings) with Kimberly of the
Fat Quarter Shop.
You can view that YouTube tutorial here:
"How to Add a Double Fold Binding to Quilts"
The section applicable to this tutorial starts around the 2:00 minute mark and continues to the 3:40 minute mark.
***
Keep in mind Lisa is attaching to the front of her quilt and finishing by hand (on back) -- we will attach to the back of the quilt and finish with machine on the front.
***
Continuing... attach binding quilt back:
Working on the
BACK of the quilt, position the binding right side down with the Primary fabric to the right (aligning raw edge of Primary fabric with raw edge of quilt back).
Next fold the top right corner to the left, wrong sides together, to make a 45 degree angle and press.
Now fold the binding wrong sides together so both of the binding raw edges are aligned with the raw edges of the quilt back.
***
Position the binding about 1/2 way down the side of the quilt.
***
You'll need space above the binding to complete the mitered finish.
***
You will begin stitching the binding about 6" from the point shown below.
Leave at least 5" of the binding un-stitched (pin but don't stitch) and begin stitching with a 1/4" seam allowance.
***
Stop a 1/4" from the quilt corner (I marked my 1/4" with a pin - see below).
***
When you stop at the 1/4" mark, be sure your needle is in the
down position.
Showing, stop stitching 1/4" from the quilt corner.
Now lift the presser foot and pivot the quilt layers so you can stitch off the edge of the quilt at a 45 degree angle.
Showing: After stitching up to corner and with a 45 degree angle to the corner of the quilt
Next, trim threads and rotate the quilt counter-clockwise and prepare for the mitered fold.
The fold (below) is required to make a mitered corner.
***
After trimming threads and rotating the quilt so the stitched binding is running perpendicular to the foot, fold the binding strip straight up.
***
When you do this you'll see a 45 degree angle from the corner of the quilt to the folded corner of the binding.
Keeping the top fold steady, lay the binding down over itself, so the 45 degree angle is preserved under the top layer and the straight fold is along the top edge of the quilt.
Begin stitching a 1/4" seam allowance at the top fold.
Stitch to within 1/4" of the next quilt corner and repeat the process.
Repeat the folding and stitching process at the next corner.
After you've mitered all 4 corners you'll be headed down the last side of the quilt (The side where you started the binding).
***
Stop stitching at least 6" (longer if you can) from the Beginning Tail of the quilt.
***
You'll now have a beginning tail that is un-stitched and an end tail that is un-stitched.
Remove quilt from the machine bed and trim threads.
***
Lift the beginning tail up and fold it out of the way.
***
Smooth the "End tail" down along the raw edge.
Be sure there are no puckers or folds and that it rests flat against the quilt.
Now unfold the "Beginning Tail" and position it over top of the "End Tail" -- making sure that both tails are smooth and are without puckers and are flat against the quilt back.
Now you'll place a pin in the "End Tail" just a couple of threads away from the Point of the "Beginning Tail".
***
Mark this position with a Pin
through the top layer of fabric only (only through the accent fabric on the End Tail, do not pin the primary).
Another image after putting a pin through the top layer only of the "End Tail" right at the point (pointed fold) of the "Beginning Tail".
Now, I use my left hand to unfold the End Tail.
Keep the right side of the fabric facing up
The Pin should remain on your right
and
the primary fabric will unfold to the left.
Next you'll unfold the Beginning Tail so that the right side is facing DOWN
and
wrong side is facing you.
2nd image of the Beginning Tail unfolded with wrong side of fabric facing up.
The tricky part is positioning the Beginning Tail so it is perpendicular to the End Tail
***
Align the Beginning Tail "Point" at the End Tail "Pin" and secure with pins
(Thanks Lisa!)
Here is where the crease from the fold comes into play -- you're going to stitch on the fold making the finished mitered seam.
(Be sure NOT to stitch through the quilt -- only stitch the binding)
After Stitching on the Fold
Before cutting excess fabric, fold the binding closed again (wrong sides together) and check to ensure that the binding is right sized and not twisted.
***
This is a very important step -- do NOT Skip ;)
***
Once you've double checked the length and positioning (no twists) of the binding you can trim the mitered finish to a 1/4" seam allowance.
Finger Press or Iron Press the seam open
Lay the binding along the raw edge and finish sewing it to the back of the quilt with a 1/4" seam allowance being sure to pickup a few stitches into where you stopped and started.
You're almost to the FUN PART!!!
Roll the Binding from Back to Front of Quilt & Prepare to Machine Stitch:
Yippee!!
Once you've finished securing the mitered finish on the back of the quilt, you get to
roll the binding around to the front of the quilt and admire the beautiful flange...
***
I just LOVE the look of the flange added to this binding...
Prepare the front of the quilt for machine stitching
Prepare each corner by tucking the bottom of the binding fabric into the corner and folding the top of the binding to make a 45 degree angle (or mitered corner).
***
Secure with Wonder Clips (love those little clips).
After the tuck and fold you should see a perfectly mitered corner -- ready for stitching
Secure that corner with another Wonder Clip
Next...
Top stitch the Flange Binding
Use a 90/14 top stitch needle in your machine
Choose thread colors that complement your fabric.
***
Both the Top and Bobbin thread
will be completely visible when you're done stitching.
***
Use Aurifil 50Wt or 40Wt thread in your Bobbin
Use Aurifil 12Wt thread on Top (my favorite)
Set a straight stitch length to 3.0 or higher (a nice "top stitch" length).
You may have to adjust your top tension down a bit (try it on a test swatch first).
***
Start stitching near a corner, taking smaller stitches to secure the start.
***
Note: No need to stitch in the ditch.
Show off that awesome Aurifil 12Wt thread by stitching well on the flange
You may have to fuss when you get into a corner so there is a stitch just before the miter and one just after you turn the quilt top
Slowly stitch all the way around the quilt top to secure the binding and finish with smaller stitches to secure your threads.
Doesn't it look just beautiful ?
Here is an image of the front (left) and the back (right)...
Love, love, love!
I hope you found this tutorial helpful.
Thanks again to Lisa Bongean (Primitive Gatherings) and Kimberly from the Fat Quarter Shop for sharing the steps for the mitered finish.
See links above.
***
This binding and the awesome Auriful thread adds great dimension to a quilt top and is admired by all who see it!
***
I especially love it because I can do the work by machine and save a little time preparing samples.
It's also great if your gifting the quilt to a little person, where a hand-sewn binding might not hold up under wear and tear and tugs...
*
Thanks for stopping by today -- leave me a comment and let me know what you think
Also -- I would love if you share this tutorial on social media AND if you send me pictures of any work you create with it.
***
Be sure to follow me on social media (below) for fun and inspiring posts!.
See My Tutorials (tab on top of blog) for more detailed and free tutorials and patterns.
Is your Shop, Group or Guild preparing for upcoming Programs?
I'm offering In-Person and ZOOM based programs.
Click
HERE to learn more about my featured programs.
You can write me anytime: karen@redbirdquiltco.com or
redbirdquiltco@gmail.com
Upcoming Retreats!!
Did you know?
I've teamed up with Wendy Sheppard to share
the CraZy Quilting Girls
Free Motion Quilting Retreats.
Join us June 2023 for the Piecing and Quilting Retreat
on the 2023 Piecing and Quilting Retreat.
*** Follow Me ***
Did you know you can visit me on
and/or
I post all sorts of fun things there!!
**
If you love to Free Motion Quilt consider joining my Facebook Community Group
*
Plus
I share quilting related
*
and I share other tutorials and patterns on
My Tutorials on my blog
Thanks for stopping by today...
~ Blessings ~
Karen
Note: This post may contain Affiliate Links.
If you purchase anything through these links I may be compensated for the purchase.
I promise to only recommend those products I know and love -- especially those with fantastic prices!


 We'll also talk Border 3 ideas and FMQ.
 Here are a few still images of my completed borders.
 Tips for using Aurifil 12Wt
 If you're needle is not the right size or it's just old, you may see skipped stitches.
 Stay tuned....


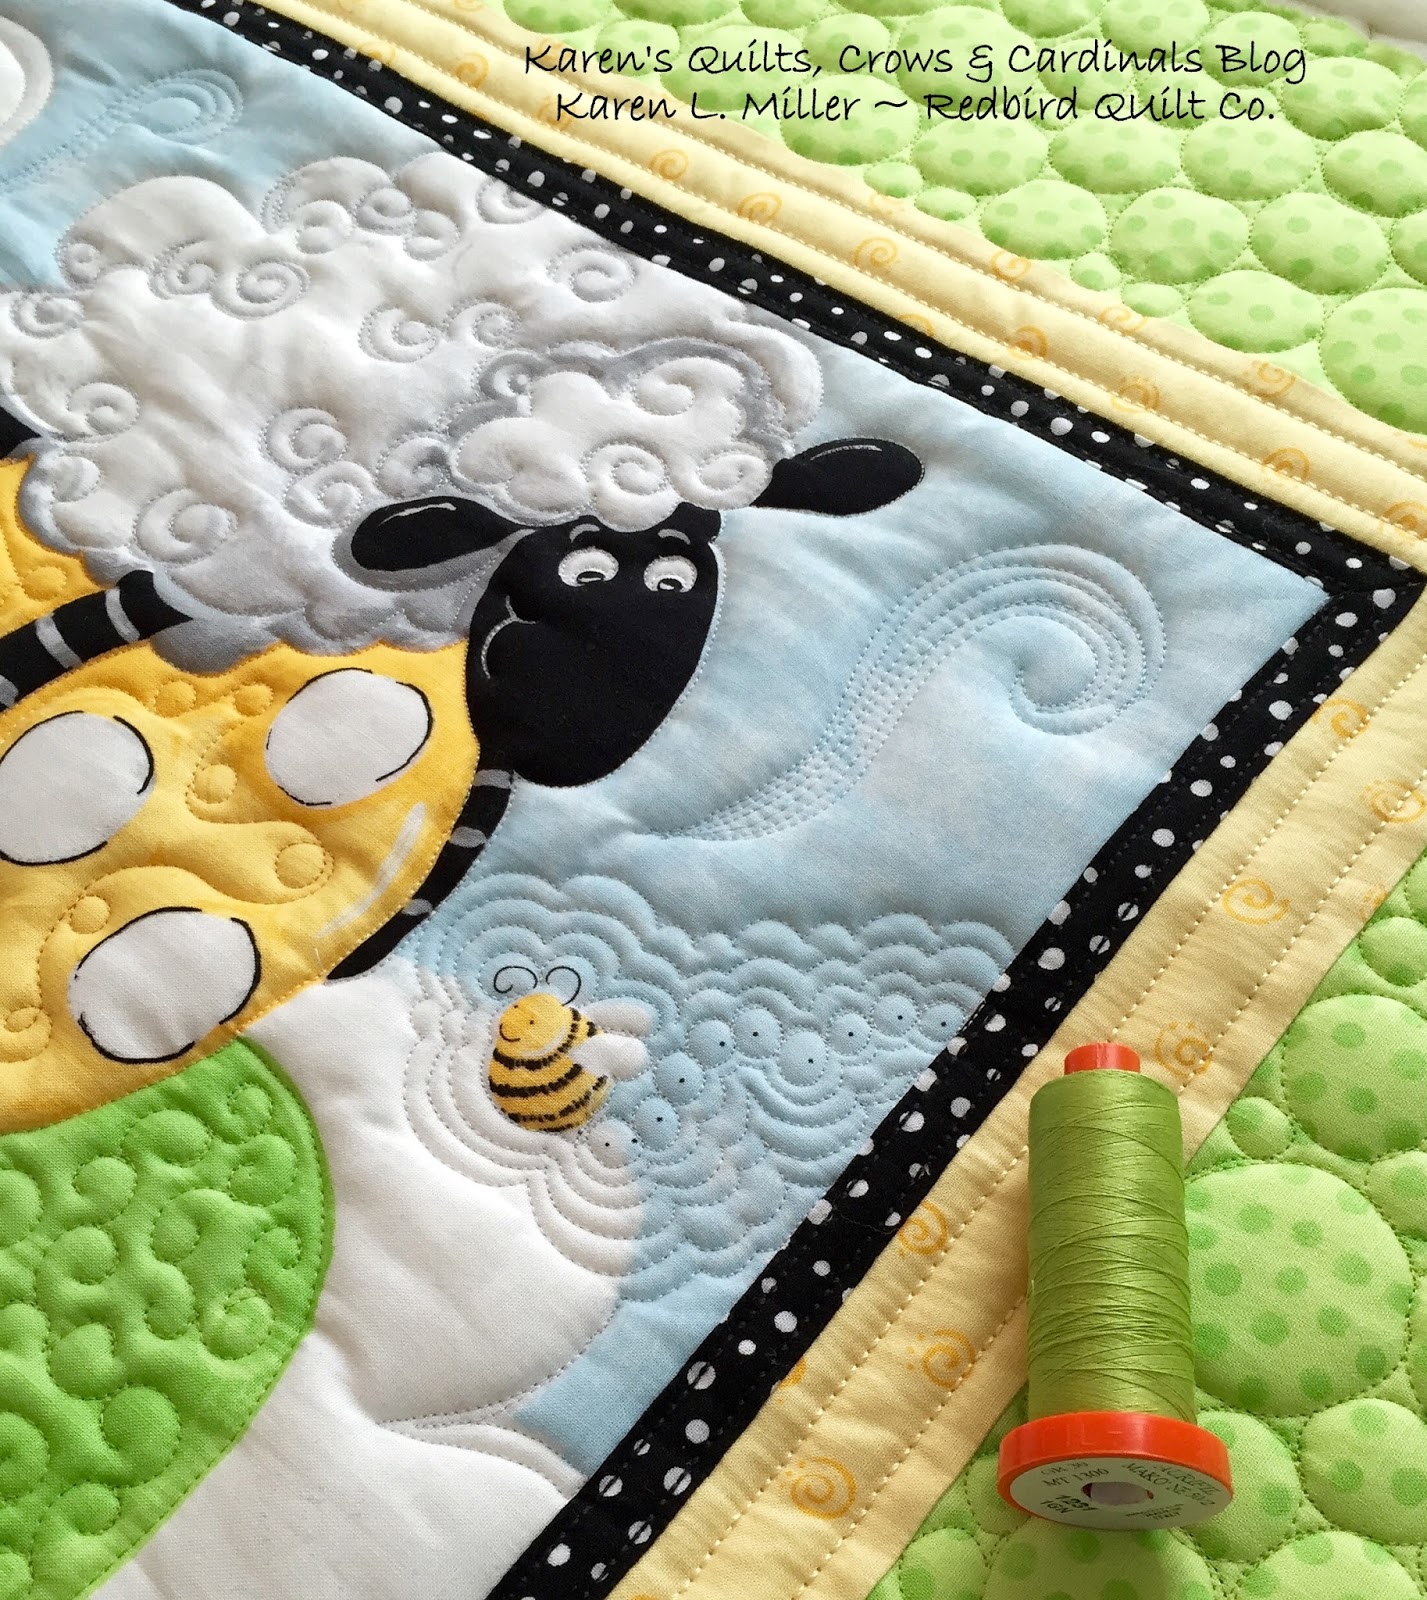
 Great thing about pebbles for a border, you can just stitch a continuous design around any corner.


