
Greetings everyone! I'm excited to be participating again this year in Amy's Blogger's Quilt Festival! Many thanks to Amy Ellis for hosting this fun event!
If you're new to my blog -- welcome! I hope you enjoy your look around.
You can read more about my interests, current and future projects by clicking here.
If you're new to my blog -- welcome! I hope you enjoy your look around.
You can read more about my interests, current and future projects by clicking here.

The Quilt Festival is an outlet for those of us that are not traveling to the International Quilt Market and Festival to show off our stuff and get feedback from our peers.

It's open to anyone who has a blog and would like to make an entry. Please click the icon directly above to learn more about it.
Why don't you join in the fun too?
Why don't you join in the fun too?
One of the best things about the online festival is that you get to see hundreds of beautiful quilts and pieces of art! There is tons of talent in every category.
Wait until you see!
Wait until you see!
I'm excited to enter "Wren in Spring", an original 7" x 7" design into the Mini Quilt category. Mini Quilts must not be larger than 80" around. Well -- this little gem is less than 30" around.
It's tiny!
It's tiny!

I designed, stitched and quilted Wren in Spring as a challenge for local "Artfully Squared" fundraiser sponsored by the local Council on the Arts .

The council collects and display hundreds of 7" x 7" pieces of art from local artists.
The work is on display for the month of April and each piece of artwork is available to purchase for $20 with proceeds going directly to the local art programs.
It's a great event and I was honored and excited to participate.
Wren in Spring is wool applique on a cotton background. I used Aurifil 28Wt Mako Cotton to applique the bird and the stems and fell in love with this applique weight thread!.

I also used Aurifil 50Wt Mako Cotton for the dense machine quilting. The 50Wt Aurifil allows backtracking without buildup. I love that about this thread. I used two layers of batting, one 100% Cotton (Warm and Natural) and one 100% Wool (Hobbs). I love the way the two layers of batting allow the wren to look as though he was done with trapunto!.

I used a NO BINDING method to finish the mini - you can read more about it here.
I was very happy to learn that Wren in Spring was purchased even
before the opening event. It was gifted to a local resident
who was celebrating her 93rd birthday.
How is that for sweet? I was
very honored.
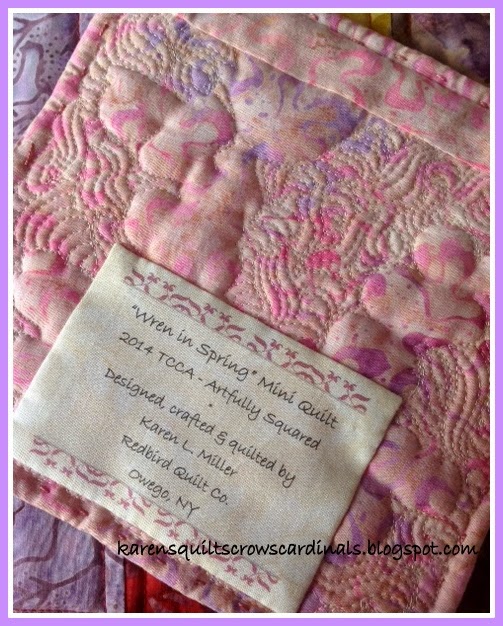
Once the quilting was done, I added a label and hanging sleeve and ta-daa!! -- All ready to be delivered to the Council of the Arts! You can see my
Computer Printed Quilt Label tutorial here.
Thanks for sharing in the fun -- here is the Entry Summary:
Wren in Spring Mini Quilt
7" square (for a total of 28" around)
Wool Applique on Cotton Background
Aurifil Threads in 50Wt and 28Wt
Hobbs Wool + Warm and Natural Cotton Batting
Dense McTavish style quilting on domestic (by me ;)
No binding border (fast and easy)
If you like Wren in Spring, please consider nominating it for the overall "Viewers Choice" award. The Viewers Choice Nominees can be entered on this page.
Be sure to come back on November 1st when Voting in each Category begins.
You can vote for quilts in the Mini Category on this page.
Thanks for your support and feedback!
Karen


